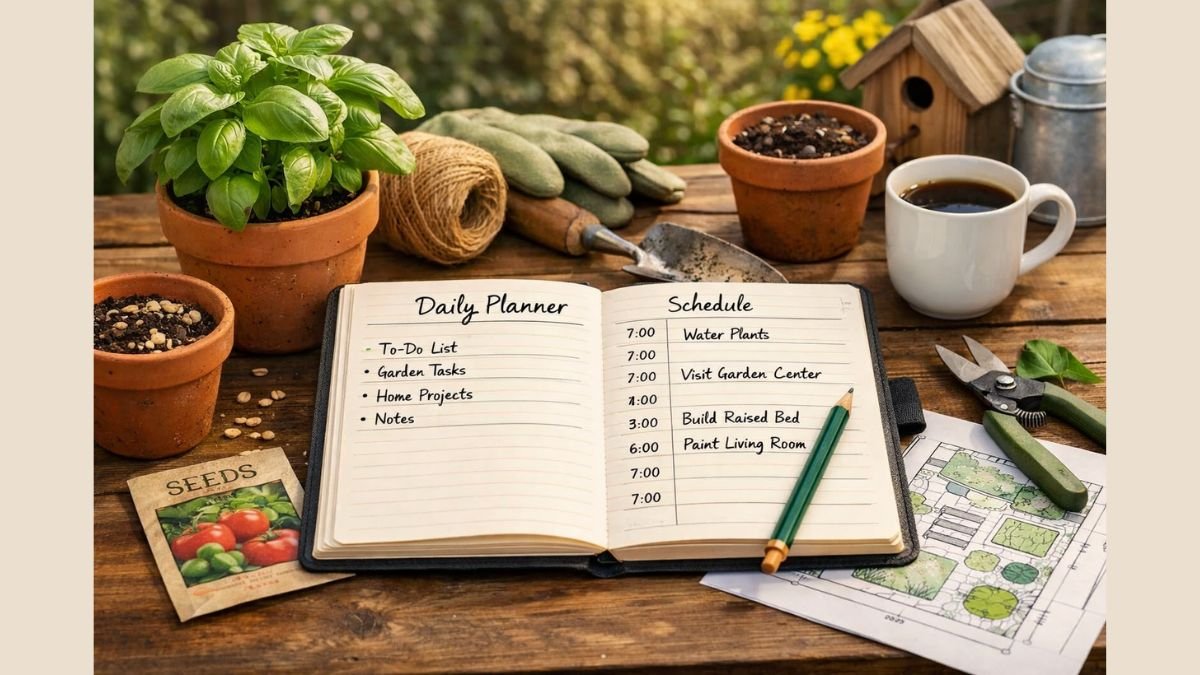
- How to Use a Daily Planner to Plan Your Garden or Home Projects
- 1. Create a Master Project Dashboard
- 2. Reverse-Engineer Every Project (Work Backwards)
- 3. Time-Block Project Sessions Like Appointments
- 4. Use the “Next Physical Action” Rule
- 5. Create a Materials & Shopping Tracker
- 6. Build in Rest & Weather Buffers
- 7. Weekly Project Review (Sunday 15 minutes)
- 8. Celebrate Milestones (Make It Addictive)
- 9. The “Minimum Viable Session” for Low-Energy Days
- 10. Keep a Running “Lessons Learned” Log
- Ready-to-Use Home/Garden Project Template
- Related Posts
How to Use a Daily Planner to Plan Your Garden or Home Projects
Home and garden projects have a way of expanding from “quick weekend fix” into months of half-finished chaos.
A daily planner turns vague dreams (“I should fix the fence” or “I want a vegetable garden”) into realistic, step-by-step plans that actually get completed — without burning you out or wasting weekends.
Here’s exactly how to use a daily planner to successfully plan and execute your garden and home projects in 2026.
1. Create a Master Project Dashboard
Start with one dedicated page (or spread) that gives you the big picture.
Include:
- Project name (e.g., “Backyard Vegetable Garden” or “Kitchen Renovation Phase 1”)
- Overall goal + deadline (realistic!)
- Budget estimate
- Key milestones with target dates
- Materials/supplies needed
Review this dashboard every Sunday during your weekly prep.
2. Reverse-Engineer Every Project (Work Backwards)
Never write “Start garden” on a random day.
Instead, break every project into clear milestones and work backwards from the finish date.
Example – Vegetable Garden Project (8-week timeline):
- Week 8: Plants in ground + mulched
- Week 6: Soil prepared & raised beds built
- Week 4: Materials delivered + area cleared
- Week 1: Research & final plan locked
Put these milestone dates in your planner first, then fill in the daily/weekly tasks that lead to them.
3. Time-Block Project Sessions Like Appointments
Treat your projects with the same respect as work meetings.
Best practice for busy people:
- Block 1–3 focused sessions per week (e.g., Saturday 9–11 AM and Wednesday 6–7 PM)
- Use realistic time estimates (most people underestimate by 50%)
- Always add a 15–30 minute buffer
Color-code home vs. garden projects so you can see balance at a glance.
4. Use the “Next Physical Action” Rule
Vague tasks kill momentum.
Instead of “Work on garden,” write the very next physical step:
Bad: “Garden work”
Good: “Buy compost and 6 tomato seedlings”
Better: “Go to nursery Saturday 10 AM – buy compost, 6 tomato plants, and 2 bags of mulch”
Write the next clear, physical action for every active project in your daily planner.
5. Create a Materials & Shopping Tracker
Nothing stalls a project faster than realizing you’re missing supplies mid-work.
Add a running “Materials Needed” list in your planner:
- Item | Quantity | Where to buy | Estimated cost | Bought? (✓)
Update it every time you think of something new. Review before every shopping trip or project session.
6. Build in Rest & Weather Buffers
Garden projects especially are weather-dependent.
Smart strategy:
- Always schedule 1–2 “buffer days” per major phase
- Have indoor fallback tasks ready (e.g., research, tool maintenance, sketching layouts)
- Block recovery/rest days after big physical efforts
7. Weekly Project Review (Sunday 15 minutes)
Every Sunday ask these four questions in your planner:
- What progress did I make this week?
- What’s the next physical action for each active project?
- Do I need to adjust timelines or budget?
- What’s one win I can celebrate?
Write the answers. This single habit prevents projects from stalling for months.
8. Celebrate Milestones (Make It Addictive)
Big projects feel endless. Break them with rewards.
Examples to note in your planner:
- After clearing the garden area → favorite takeout dinner
- After building raised beds → buy new gardening tools
- Project complete → nice dinner out or a new plant for the finished space
Write the reward next to the milestone date when you set it.
9. The “Minimum Viable Session” for Low-Energy Days
Some days you’re tired, busy, or the weather is bad.
Have a pre-defined 15–20 minute “minimum session” for each project:
- Garden: Water plants + pull 10 weeds
- Home: Measure one area or research one product online
Never have a zero day if you can help it.
10. Keep a Running “Lessons Learned” Log
Every project teaches you something. Capture it.
At the end of each major phase, write 2–3 bullet points:
- What worked well
- What I would do differently next time
- One new skill or insight
This turns every project into long-term wisdom.

Ready-to-Use Home/Garden Project Template
PROJECT: ___________________________   Target Completion: ________

Key Milestones & Dates
1. ________________________ → ________
2. ________________________ → ________
3. ________________________ → ________

This Week’s Next Physical Action: ________________________

Materials Needed
* ________________________   Bought? ☐
* ________________________   Bought? ☐

This Week’s Project Block: ____ : ____ – ____   (Date)

Win / Lesson This Week: ________________________
In the meantime, open your planner tonight and create your first project dashboard.
Your future garden (or renovated kitchen) is waiting for you to start planning it properly. 🌱

Hi, I’m Sam Thomas. I love writing about productivity and simple ways to stay organized in daily life. Through this blog, I share practical tips, planners, and ideas that have helped me stay on track. My goal is to make planning easy and useful for everyone.
